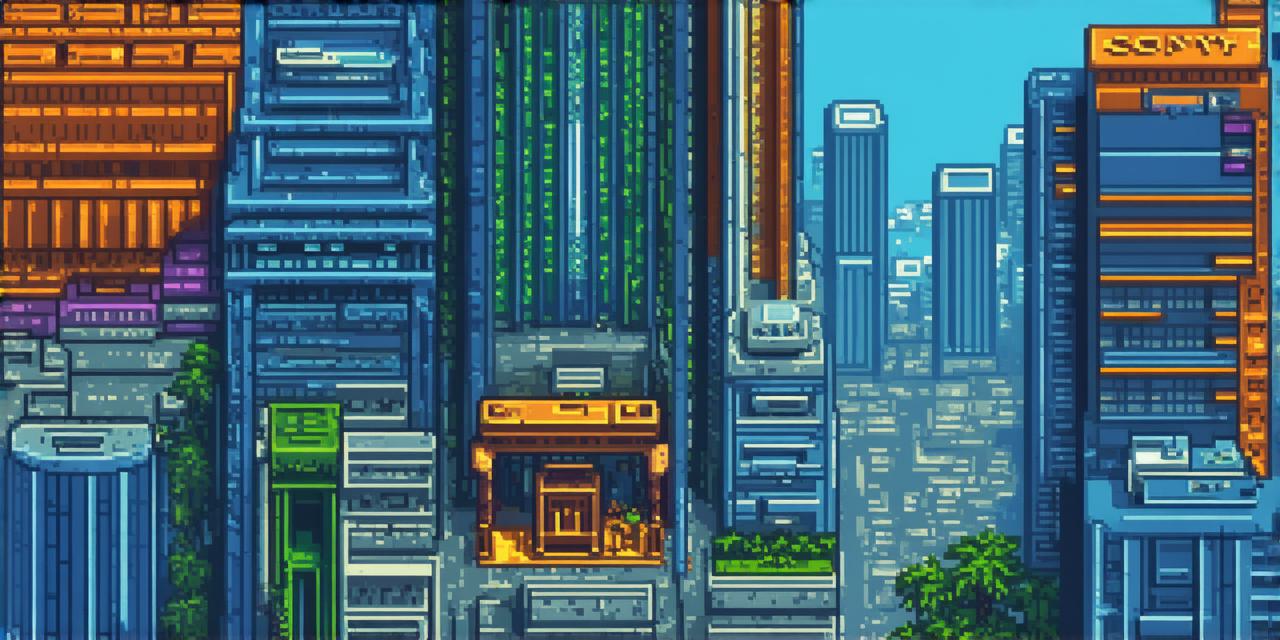
If you’ve ever dreamed of creating your own video game, now is the perfect time to start. With the rise of indie games and mobile gaming, there has never been a better opportunity to bring your ideas to life. However, starting a game development project can be overwhelming, especially if you don’t know where to begin.
1. Define Your Game Concept

The first step in game development is to define your game concept. This involves brainstorming and coming up with a clear idea of what your game should be about. It’s important to have a solid understanding of the game mechanics, characters, and storyline before moving on to the next step.
2. Choose Your Game Engine
The next step is to choose your game engine. A game engine is a set of tools and technologies that allow you to create interactive games. There are many different game engines available, each with its own unique features and capabilities. Some popular game engines include Unity, Unreal Engine, Godot, and Construct 3. When choosing a game engine, consider your experience level, the type of game you want to create, and the resources you have available.
3. Create Your Game Design Document (GDD)
Once you have your game concept and game engine in mind, it’s time to create your game design document (GDD). The GDD is a comprehensive guide that outlines every aspect of your game, including the storyline, characters, mechanics, and levels. It serves as a roadmap for your development team to follow and helps ensure that everyone is on the same page.
4. Build Your Prototype

The next step is to build your prototype. A prototype is a basic version of your game that you can use to test and refine your ideas. It doesn’t need to have all the bells and whistles just yet, but it should give you a good idea of how your game will play out. Building a prototype can help you identify any potential problems early on and make changes before investing too much time and resources into the project.
5. Test Your Game
Once you’ve built your prototype, it’s time to test your game. This involves getting feedback from other developers, friends, or family members who playtest your game. You can use this feedback to identify areas where your game needs improvement and make changes accordingly. It’s important to be open-minded and willing to make changes based on constructive criticism.
6. Refine Your Game Mechanics
After testing your game, it’s time to refine your game mechanics. This involves making adjustments to the way your game plays based on feedback you received from playtesters. For example, if players found certain levels too difficult, you may need to adjust the difficulty level or add more hints and guidance. Refining your game mechanics is an ongoing process and should be done throughout development.
7. Create Your Game Art Assets
Once you have a solid understanding of how your game will play, it’s time to create your game art assets. This includes creating characters, backgrounds, and other visual elements that bring your game to life. When creating game art assets, it’s important to consider the style and tone of your game and ensure that everything is consistent with your overall vision.
8. Implement Your Game Logic
After you have all your game assets in place, it’s time to implement your game logic. This involves coding the rules and mechanics of your game into the game engine. When implementing game logic, it’s important to be as organized and efficient as possible to avoid errors and delays. You may need to work with a programmer or use pre-made assets to simplify this process.
9. Publish Your Game
The final step in game development is to publish your game. This involves submitting your game to app stores, consoles, or other distribution platforms.